|
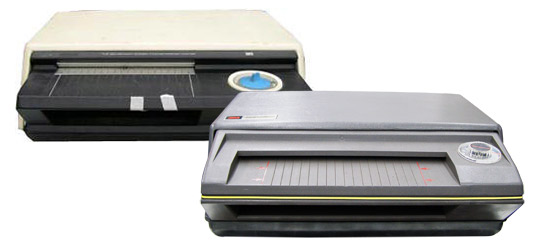
4-Part Stencil Paper for use with 3M
Thermal Copy Machines
See Instructions for using with Spirit
PocketJet |
|
1) Top White Paper. |
White top
layer will have final reverse image on underside. Feed through stencil
machine with white side up. |
|
2) Thin Brown sheet. |
Protects
purple coated sheet during shipping and storage.
If you leave it in, the image will be on this thinner sheet. |
|
3) Purple layer. |
Crystalline
violet and caruba wax, non-toxic and safe for skin. |
|
4) Bottom Yellow sheet. |
Holds
everything together and provides grip when sending it through
the thermal copy machine. |
|
"By Hand" 3-Part Stencil Paper without using Thermal Copier |
|
1) Top layer is White.
|
Draw directly or copy lines pressing hard.
|
|
2) "Purple" layer |
Crystalline
violet and caruba wax, non-toxic and safe for skin. |
|
4) Bottom sheet |
Holds
everything in place. |
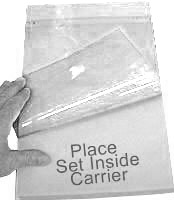 |
A
Carrier
Makes a Better Stencil
Carrier Size 8-1/2" x 14
#11TH18,
$15.95 Ea
Blue or Clear as supplied does not affect
the quality of the finished stencil.
Claiming one or the other is a scam.
Thermal copiers work by heat not optically |